Should I Install Baseboards with Glue or a Nailer?

When installing baseboards, one of the first decisions you’ll need to make is whether to use glue or nails. Both options can work, but they serve different purposes and come with different long-term consequences. If you’re after a clean, professional-looking finish that holds up over time, nailing trim is almost always the better choice.
Below, we’ll walk through what makes trim nails more effective, how to use glue properly if you must, and why your choice matters down the road, especially during future renovations.
Why Nailing Trim Is the Best Choice
Nails provide a strong mechanical bond that holds baseboards tight to the wall, even as humidity or temperature causes wood to expand or contract. When you drive baseboard nails through the board and into the wall’s framing, either the bottom plate or a stud, you’re anchoring that board with far more security than adhesive alone can offer, while still allowing for some movement over time.
The only thing to keep in mind when using a nailer is that you need to make sure your baseboard is perfectly aligned with minimal gaps before driving each nail. Unlike glue, which remains flexible while it is curing and allows for some adjustment, it’s hard to fix a crooked baseboard once it’s nailed into place without removing the entire board and starting over.
WHAT SIZE NAILS SHOULD YOU USE?
When Glue Makes Sense — and What to Watch Out For
There are situations where glue can help, such as when you’re attaching baseboards to brick, masonry, or tile, all surfaces that can’t hold nails. Some installers even add a bead of construction adhesive behind the trim in addition to nails to help combat bowed or uneven walls. But glue has serious downsides.
First, it takes time to cure. You’ll need to hold the trim in place with painter’s tape or temporary bracing for several hours. Additionally, it makes a mess, especially if you ever remodel.
Glued baseboards can be extremely difficult to remove cleanly. When you pry them off, they often pull off chunks of drywall or plaster, tear the paper surface of the drywall, or leave hardened beads of adhesive stuck to the wall. That means extra time scraping, patching, sanding, and sometimes replacing entire wall sections before you can install new trim or repaint. In bathrooms and other areas where humidity is high, glue can soften and release its hold over time.
If you do use glue:
- Clean the wall thoroughly beforehand.
- Apply construction adhesive in a zigzag pattern along the back of the trim.
- Tape the baseboard tightly against the wall while it sets.
- Expect more prep work if the baseboard ever needs to come off.
- Use 23-gauge pin nails if possible to brace the board while you allow the glue to cure.
What About Hand Nailing?
It’s possible to install baseboards using a hammer and finish nails. For small projects or if you don’t have access to a nail gun, it’s a viable option. But hand-nailing has drawbacks that make it less desirable, especially for longer runs or tight corners.
The main issues with hand-nailing include:
- Lack of precision: It’s harder to consistently set nails at the right depth or angle by hand.
- Risk of damage: A missed swing can dent or split the baseboard, especially with softer woods or narrow profiles.
- More physical strain: Driving dozens of nails by hand leads to fatigue, especially if you’re working on multiple rooms or older walls with tough framing.
- Slower pace: Compared to a nail gun, hand nailing is significantly slower and can lead to inconsistent results.
If you choose to hand-nail, use a nail set to sink the heads just below the surface, and take extra care to avoid damaging the trim face. Be prepared to patch any dents or marks before painting.
Do I Need to Mark my Studs for Baseboard?
Most baseboards are installed just above the floor. That bottom 1–1.5 inches of wall is backed by a horizontal piece of framing lumber called the bottom plate. Because the bottom plate runs continuously along the length of the wall, you can drive nails into it without needing to mark individual studs, as long as you stay low enough.
However, your flooring height can impact this. If you’re installing tall baseboards or working above thick floors like tile or stacked hardwood, you may find yourself nailing higher than the bottom plate. If that happens, and your nails don’t bite and the trim pulls away easily, it’s time to find and mark your vertical studs. Then drive nails through the baseboard into those studs for a secure hold.
In either case, the goal is the same: get a clean, flush installation with minimal flex or warping over time. Nail every 12 to 16 inches or so, and be sure to hit the studs in corners and end joints for stability.
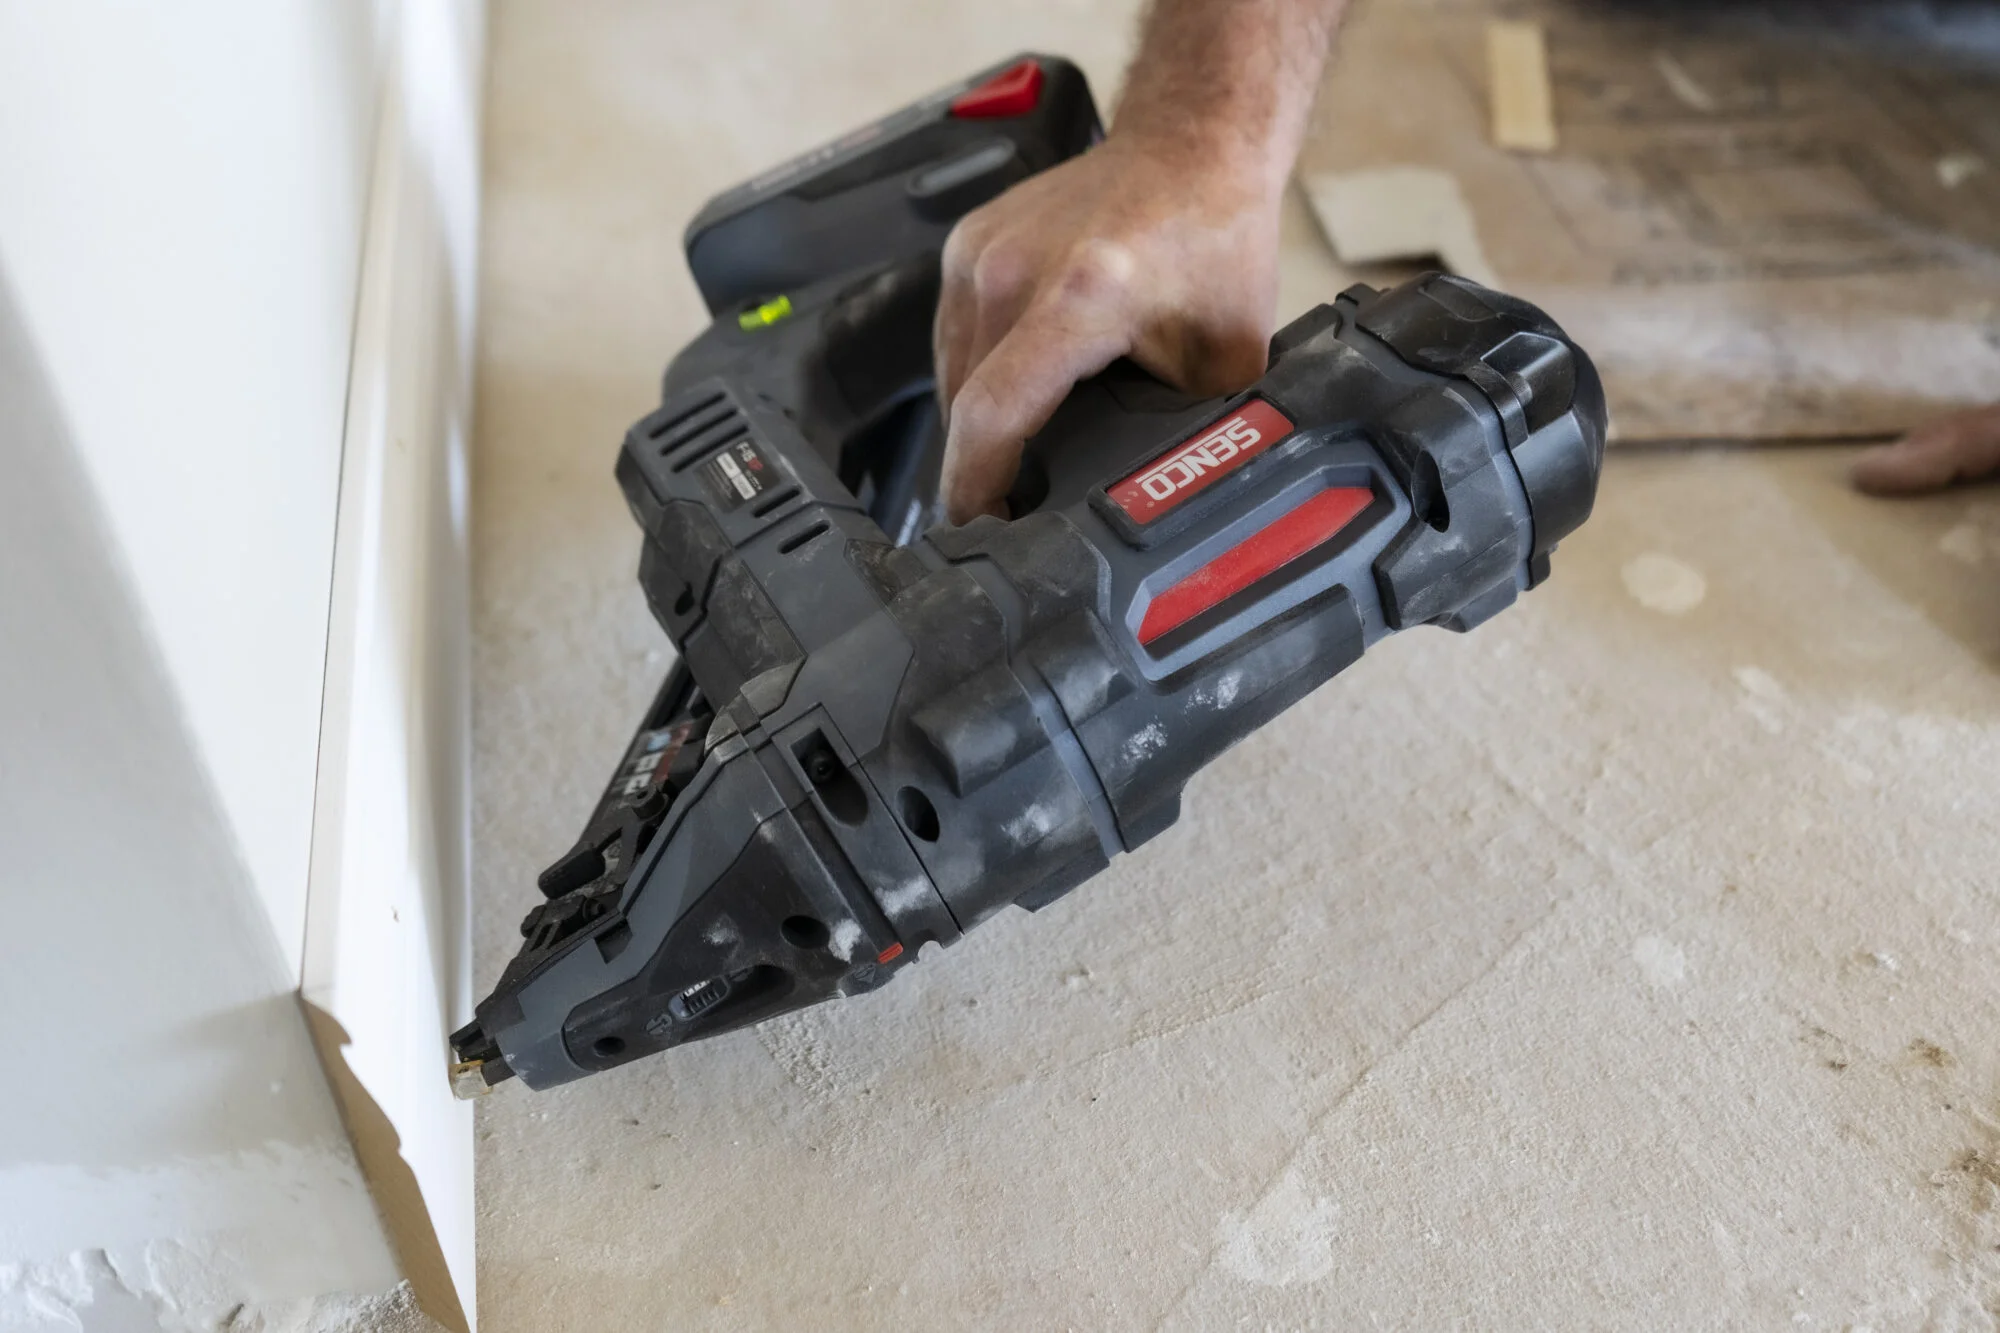
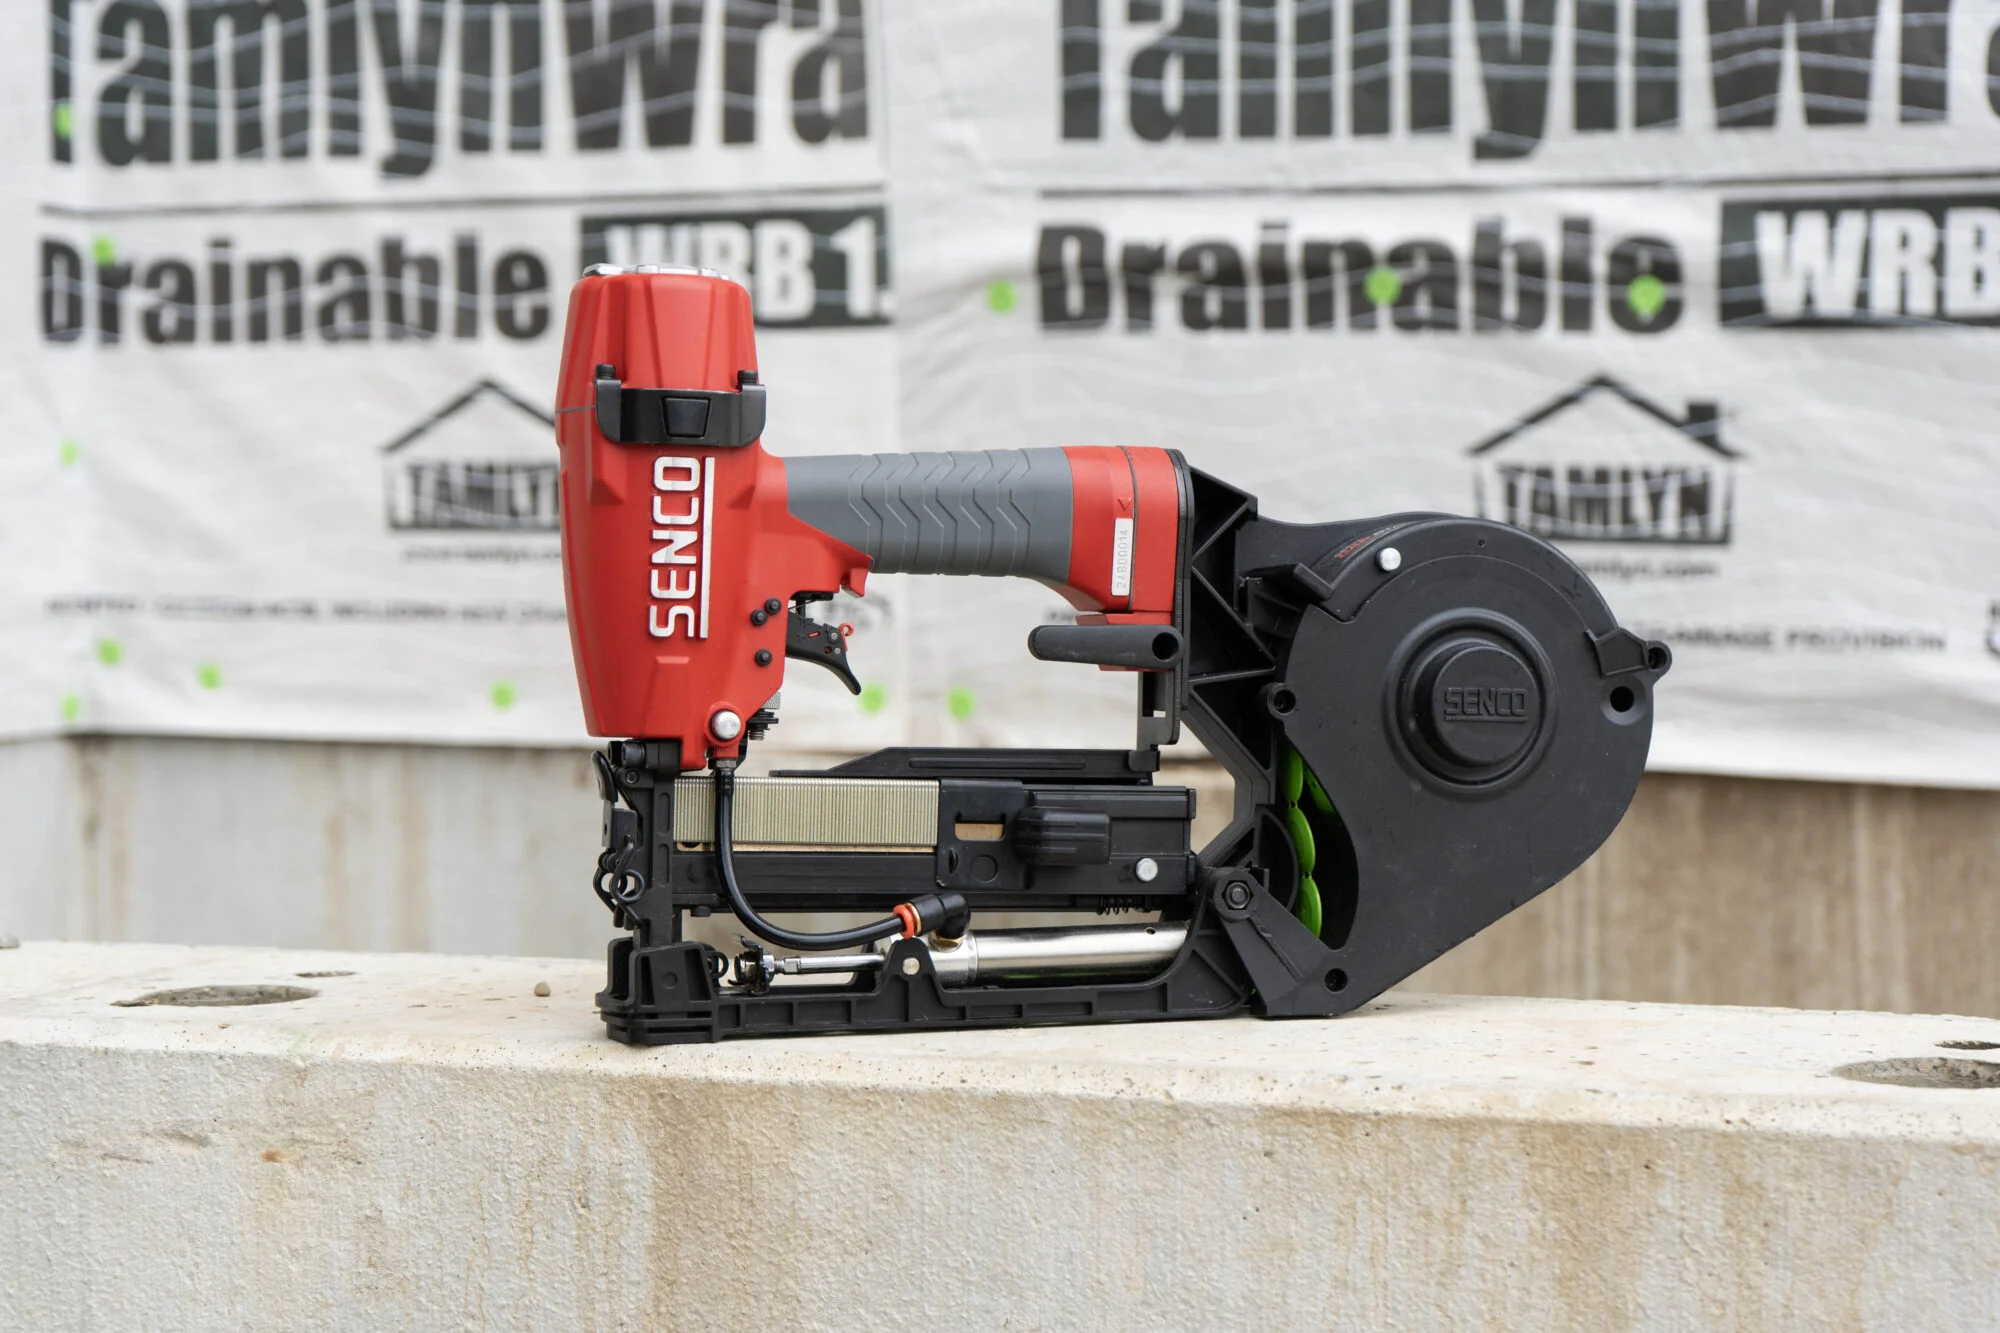
Choosing Trim Nails and the Tools to Drive Them
For most baseboard installations, a 15-gauge finish nailer or 16-gauge finish nailer is the right tool. Finish nails are strong enough to hold full-size trim in place without splitting the wood. If you’re installing smaller, lighter trim profiles, an 18-gauge brad nailer can work and leaves smaller holes to fill.
Both types of nailers are available in pneumatic (air-powered), battery-operated, and gas-powered models. Pneumatic nailers are most common on job sites, but cordless options offer convenience and portability.
Tips for nailing baseboards:
- Use 2-inch nails to ensure they pass through the trim and drywall and bite into the framing.
- Angle your nails slightly downward for more grip, especially if you’re not sure you’re hitting a stud.
- Set the nail heads slightly below the surface and paint them. (For the smoothest finish, you can fill them with wood filler and sand before painting.)
Final Takeaway
Nailing baseboards is the industry standard for a reason. It’s fast, strong, and clean, and it gives you flexibility if you ever need to remove or replace the trim. Glue has its place, especially on hard surfaces or in combination with nails, but it’s less durable and far less forgiving when it comes time to remodel.
If you want a lasting installation that resists warping and stays tight to the wall, reach for your trim nails and nailer. It’s the right tool for the job, and the right approach for the long haul.
Related Posts