FASTENING TIPS FROM THE PROS

THESE PRO PRACTICES IMPROVE SPEED, PRECISION AND FINISH
With the growth of social media in recent years, professional tradesmen and women have turned to platforms like Instagram to share their work. These pros are woodworkers, framers, drywallers, general contractors and much more. Through a lifetime of working and learning, they know the most efficient ways to get their jobs and projects done.
We asked several well-known Instagrammers who are professionals in the building industry for their go-to tips and tricks related to fastening. Here are several hacks these experts use every time they pick up their nailer, stapler or screwdriver.
Carpentry by Mar
Use an Angle Grinder to Blunt Collated Nails
Sometimes a dull nail is best — particularly when working near the end grain of a hard, thin or brittle board or trim piece. Sharp nails separate wood fibers outward and can easily split wood at the end, which is not only unsightly but can result in a weak hold. When working near the edge of the board, blunting the nail is a tried-and-true carpenter’s trick.
“Back when I first started, it was common to hang doors with hand nails. One of the first companies I worked for said, ‘Hey, take this hammer and blunt the nail. Otherwise, as hard as oak is, it’s going to split it,’” said Marlon Rodriguez, who goes by the Instagram handle @carpentry_bymar. “When you blunt the nail, it compresses wood fibers down rather than pushing them to the side, which keeps the board from splitting at the end.”
When using hand nails, a whack or two with a hammer on the nail tip provides plenty of blunting. But in the age of power nailers like the SENCO F-35XP, which fires groups of nails bound together by plastic or paper-tape collation, hammering individual nails is a no go. Rodriguez has found a solution when using collated nails — he grinds the tips with a diamond wheel on an angle grinder.
“I use an angle grinder to blunt all nails in the strip,” he said. “One pass is all it takes.”
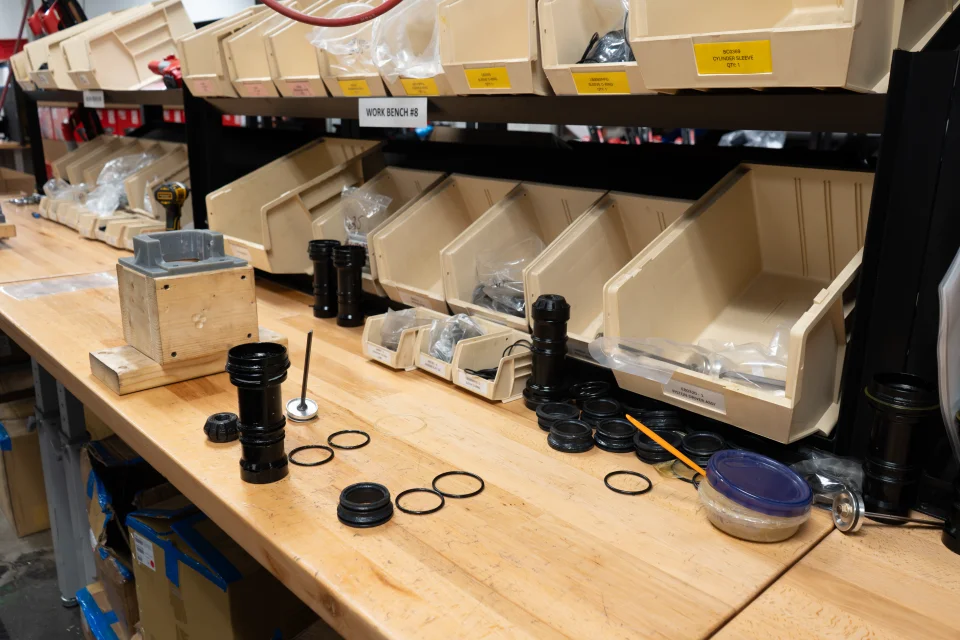
Tools at Work
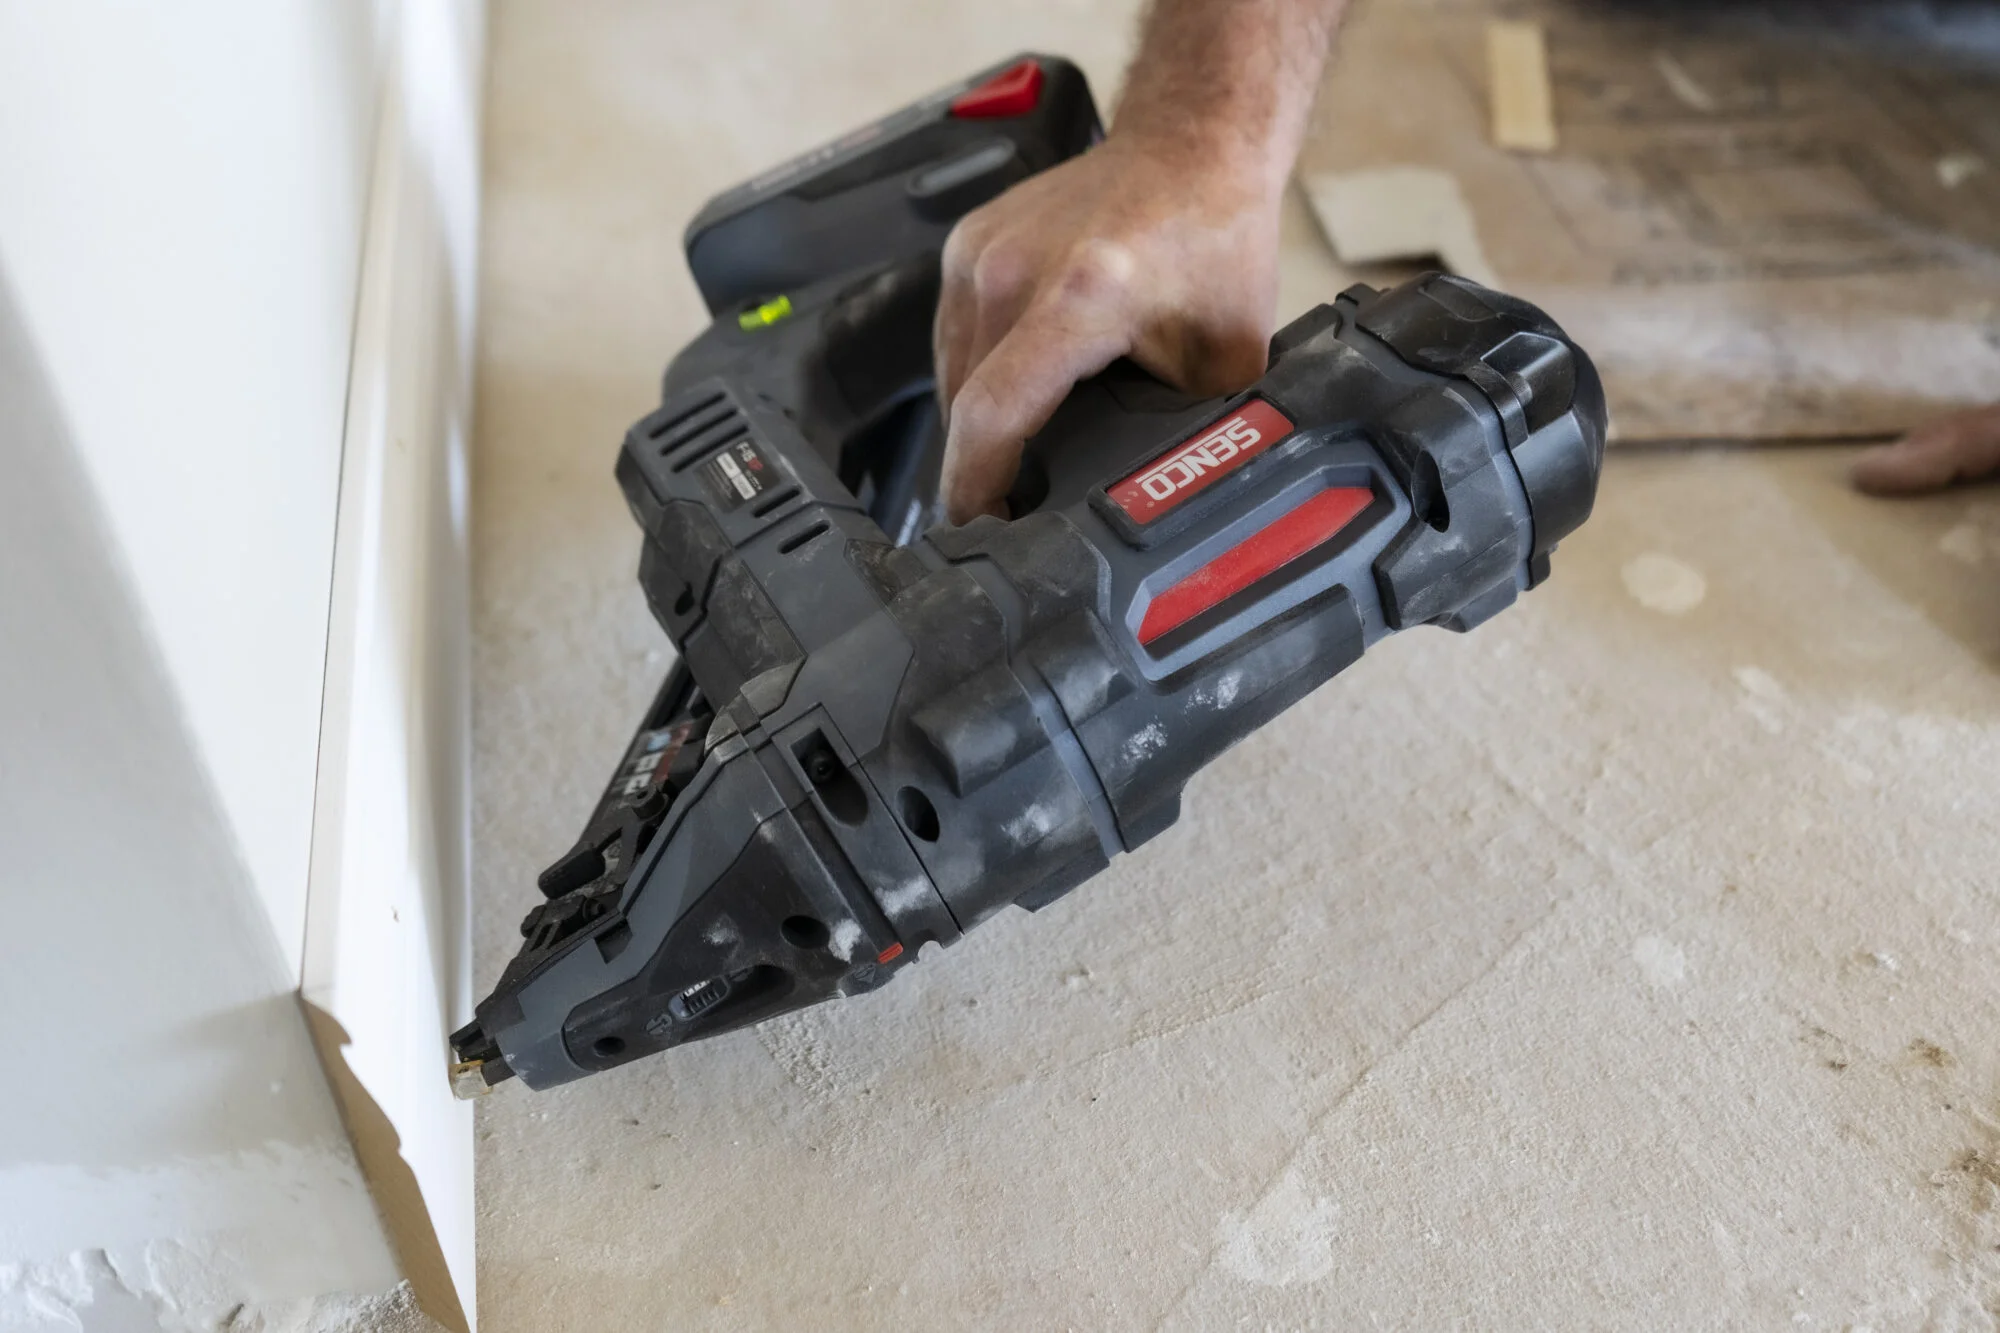
Hold the Nailer Perpendicular to the Board When Installing Wood Trim
A common safety tip when using nailers is to keep your off-hand a foot or two away from the nailer every time you fire. This is because nails can ricochet off of knots or tight wood grain, puncturing back out through the side of the board.
However, even if you practice that safety standard, a nail sticking out of the side of your trim is a bummer. Austin Werrmann, a Northern Kentucky based contractor and content creator who goes by @tools_at_work, has a solution when using his SENCO FinishPro 25XP 18-gauge nailer to install wood trim — hold the nailer perpendicular to the wood grain.
“Eighteen-gauge nails have chisel points, which means their point is long and flat. If that point hits radial wood grain that is tight, it will redirect that nail and you’re going to have blowouts. The nail will come through the side or the face of the board,” he said.
It’s a similar principle to blunting nails — by turning the nail 90 degrees, the chisel point will drive through the grain instead of deflecting against it. It’s a trick Werrmann learned as a young tradesperson that he has never forgotten. It saves time — no recutting boards, pulling nails or filling holes — and it looks better.
“Doing finish work, you want to make things look as nice as possible,” he said. “No excess holes or blowouts.”
Drywall by Design
Use Staples to Fasten Corner Bead
In Saskatchewan, Canada, where drywall contractor Scott Montgomery is based, vinyl corner bead is common. It’s especially popular when working on archways due to its flexibility, and when a decorative touch is needed, as there are many shapes and forms available. Typically, installers apply vinyl corner bead with a strong spray adhesive, but there are situations where that is not advisable, said Montgomery, whose business and Instagram handle is @DrywallbyDesign.
“If you’re in a custom house or a remodel and you’re going up against finished millwork, staples are better,” he said. “You don’t want to be using spray adhesive close to that millwork.”
Typically, Montgomery uses both staples and adhesive, a method recommended by Trim-Tex, a premier manufacturer of corner bead. Using his SENCO SFT10XP F-Wire pneumatic stapler, he attaches a staple every two to four inches, which provides extra grip that keeps the bead in place while the glue dries and bonds, creating a better finished product. As a certified Trim-Tex installer, Montgomery learned that trick right from the source. He has learned many others on the job.
“You have to get the pressure right on your compressor. I set it to 70 to 80 PSI. If it’s too high, the staple will blast right through the drywall,” he said. “I also don’t use staples alone in high-traffic areas where the corner might take a beating.”
Tool Girl’s Garage
Ditch the Clamps for Pin Nails in Precision Woodworking
Clamps are typically a woodworker’s best friend, but they can cause issues when a high degree of precision is needed. Wood glue is slick, and pressure from the clamps can shift small molding pieces or even damage the workpiece. That’s why Sarah Listi, a woodworker who runs the social media account @ToolGirlsGarage, often avoids clamps altogether on her more intricate designs.
“I like to use pin nailers for light duty clamping,” she said. “When working with small details, you likely don’t need significant clamping power. When accuracy and efficiency are important, there is a huge benefit to this method.”
Listi uses a SENCO FinishPro 23LXP, which fires 23-gauge headless pin nails. The nails themselves don’t provide significant holding power, but they keep light molding in place until glue dries, and they create holes so small, they are almost invisible. Listi occasionally uses her F-18XP for the same purpose, which fires larger brad nails that require more repair work, but provides more holding power for bigger pieces.
“It can be a really superior way to preserve your design,” she said. “I have found this trick works well in a wide range of applications and saves time, too.”
For more great tips and project ideas, follow the pros mentioned above on Instagram.
Related Posts