What Not To Do When Hanging Drywall

Here’s how to avoid common drywall mistakes and what to do instead.
Hanging drywall may look easy on YouTube, but even small errors can cause problems. Common mistakes, such as improper screw spacing, overdriving screws, or neglecting to stagger joints can result in weak walls, screw pops, or visible seams. This guide aims to help both DIYers and professionals avoid pitfalls, ensuring a smooth, long-lasting finish for any drywall project.
-
Improper Screw Spacing
Mistake: Placing screws too far apart or too close together can lead to problems over time. When screws are too far apart, it can cause the drywall to loosen or sag. When screws are too close together, it can damage the drywall and weaken its integrity.
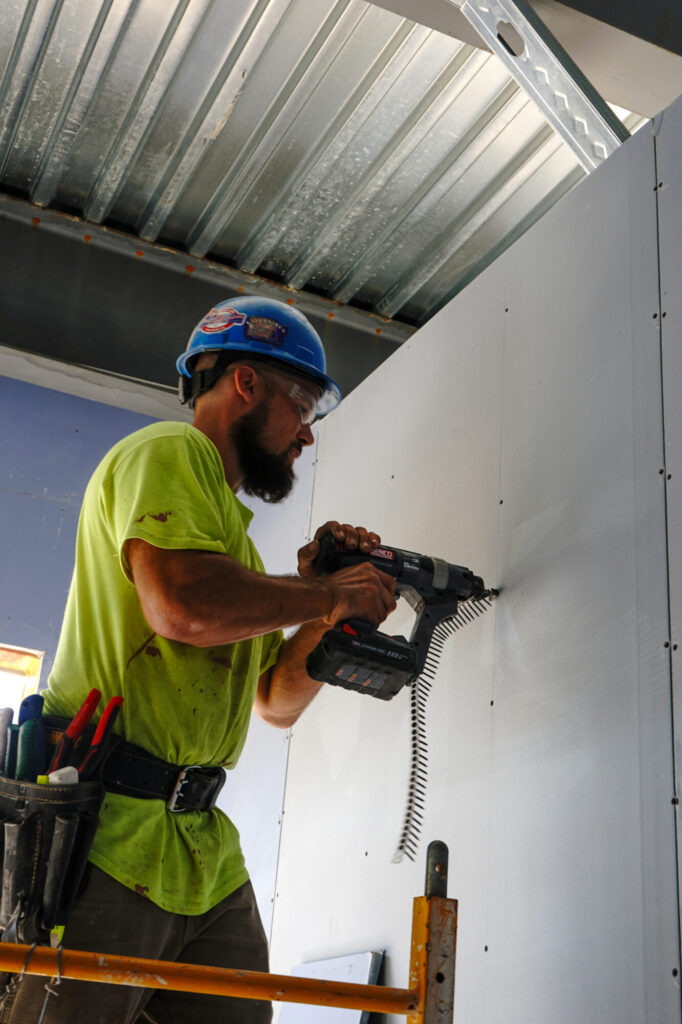
Try This: Follow the standard practice of placing screws every 6 to 8 inches along the joints and every 12 inches on the interior of the panel. This spacing provides the perfect amount of support in most circumstances. To accurately place your screws, use a powered screwdriver with a clear line of sight and a precision nosepiece.
-
Overdriving Screws
Mistake: Overdriving screws. Sinking screws too deep can break the paper surface and crack drywall sheets, which will weaken the hold and cause screws to pop out of the wall.
Try This: Drive screws just deep enough so that the head is slightly below the surface of the drywall without breaking the paper. Using an auto-feed screw gun with a depth-sensitive clutch – meaning the driver releases the screw at a pre-defined depth rather than at a certain torque – delivers the most consistent results.
-
Neglecting to Stagger Joints
Mistake: Aligning joints in straight lines across the wall. This can create weak points and visible seams, particularly where corners meet, that are difficult to hide, even with thorough taping and mudding.
Try This: Stagger the joints of the drywall sheets similar to staggering floor or deck boards. After finishing one row, start the next row with a half sheet of drywall so that the seams do not line up. This technique adds strength to the wall and reduces the likelihood of visible seams, particularly in large rooms.
-
Using Incorrect Screws
Mistake: Using a fastener that is the wrong length or not designed for the material you are installing. Drywall comes in several thicknesses, and using screws that are too short can cause a weak hold and risk of collapse. Using standard drywall screws for non-standard applications can cause similar problems.
Try This: Make sure your screws are the correct length to penetrate deeply enough in the studs for a secure hold. For 1/2-inch drywall, the most common thickness used for walls, use at least 1-1/4-inch screws. Additionally, make sure your screws are designed for the materials you are drilling into, particularly if drilling into less common materials like steel studs or sheathing like paperless drywall or cement board.
-
Cutting Drywall Incorrectly
Mistake: Inaccurate cuts can lead to gaps or uneven edges, which are difficult to hide and can compromise the wall’s stability.
Try This: Remember the tradie’s motto: measure twice and cut once. Use a T-square or a straight edge to ensure straight cuts. Score the drywall with a utility knife, snap it along the scored line, and then cut the paper on the other side. This method ensures clean, straight cuts.
-
Failing to Use Drywall Tape and Mud Properly
Mistake: Skipping the use of tape or applying mud improperly can result in cracks and visible seams.
Try This: Always use drywall tape to cover joints and seams. Apply a thin layer of joint compound (mud) under and over the tape, then feather out the edges with additional layers, ensuring each layer is smooth and well-blended. Allow each layer to dry completely before sanding and applying the next.
MORE KEYS TO DRYWALL DONE RIGHT
-
Inadequate Support for Ceiling Drywall
Mistake: Not providing enough support for ceiling drywall, or using drywall sheets that aren’t thick enough, can cause sagging and eventual collapse.
Try This: Use thicker drywall (5/8-inch) for ceilings to prevent sagging. This means you should opt for at least 1-5/8-inch screws to ensure 1inch penetration into the wood. Construction adhesive along the joists prior to hanging the drywall will help it stay secure.
-
Ignoring Room Conditions
Mistake: Hanging drywall in extreme conditions, such as high humidity or when it’s too hot or too cold. This can lead to issues like warping and joint compound that won’t dry.
Try This: Make sure the room is at a stable temperature and humidity level before starting your drywall project. Ideally, the room should be between 55-70°F (13-21°C) with low humidity to allow the joint compound to dry properly.
-
Rushing It
Mistake: Prioritizing speed over quality. Quality takes time, especially for beginners. Rushing through the installation of drywall can lead to any number of the mistakes outlined above.
Try This: Use methods and tools that can improve both quality and speed. Find a workflow that works for you and don’t skip steps or cut corners. Using the right tools can boost speed without impacting quality – for example, using high-RPM auto-feed screwdrivers can allow you to easily sink screws with less effort.
LEARN ABOUT AUTO-FEED SCREWDRIVERS
Whether you are a first-time homeowner trying DIY renovation or a professional contractor, these tips will help you ensure that your drywall project is clean and structurally sound.

