HOW DO I REPLACE THE SEALS IN MY NAILER?

Change the seals and O-rings in your corded nail gun to keep it working smoothly for years.
Do you hear the hissing sound of air escaping from the exhaust or trigger of your pneumatic nailer? Is it down on power, struggling to sink nails fully, or skipping shots? If so, you likely need to change the seals and O-rings inside your tool.
This relatively easy and inexpensive maintenance can quickly get you back to work and keep your nailer in service for years. However, you’ll need to disassemble the nailer and handle small parts – if you don’t feel comfortable replacing seals and o-rings in your nailer yourself, take it to an authorized service center in your area.
What do the Seals Do?
O-rings are simple, circular rubber seals that play an important role in the operation of pneumatic nail guns. They are used to prevent air from leaking between the moving parts of the piston driver assembly, exhaust, and the trigger valve. Additionally, nailers also have several plastic seals that serve the same purpose.
O-rings and seals eventually degrade and need replacement from normal wear and tear. However, you may extend their life by following your manufacturer’s exact recommendations for lubricating the tool. Under-oiling the tool may cause the O-rings to become cracked and dry, and over-oiling it may cause buildup in the tool. Additionally, some oils contain solvents that may dissolve rubber or plastic.
Before oiling your tool, make sure it is not an oil-free nailer or a SENCO NeverLube tool.
LEARN MORE ABOUT OILED VS. OILLESS NAILERS
Before You Start
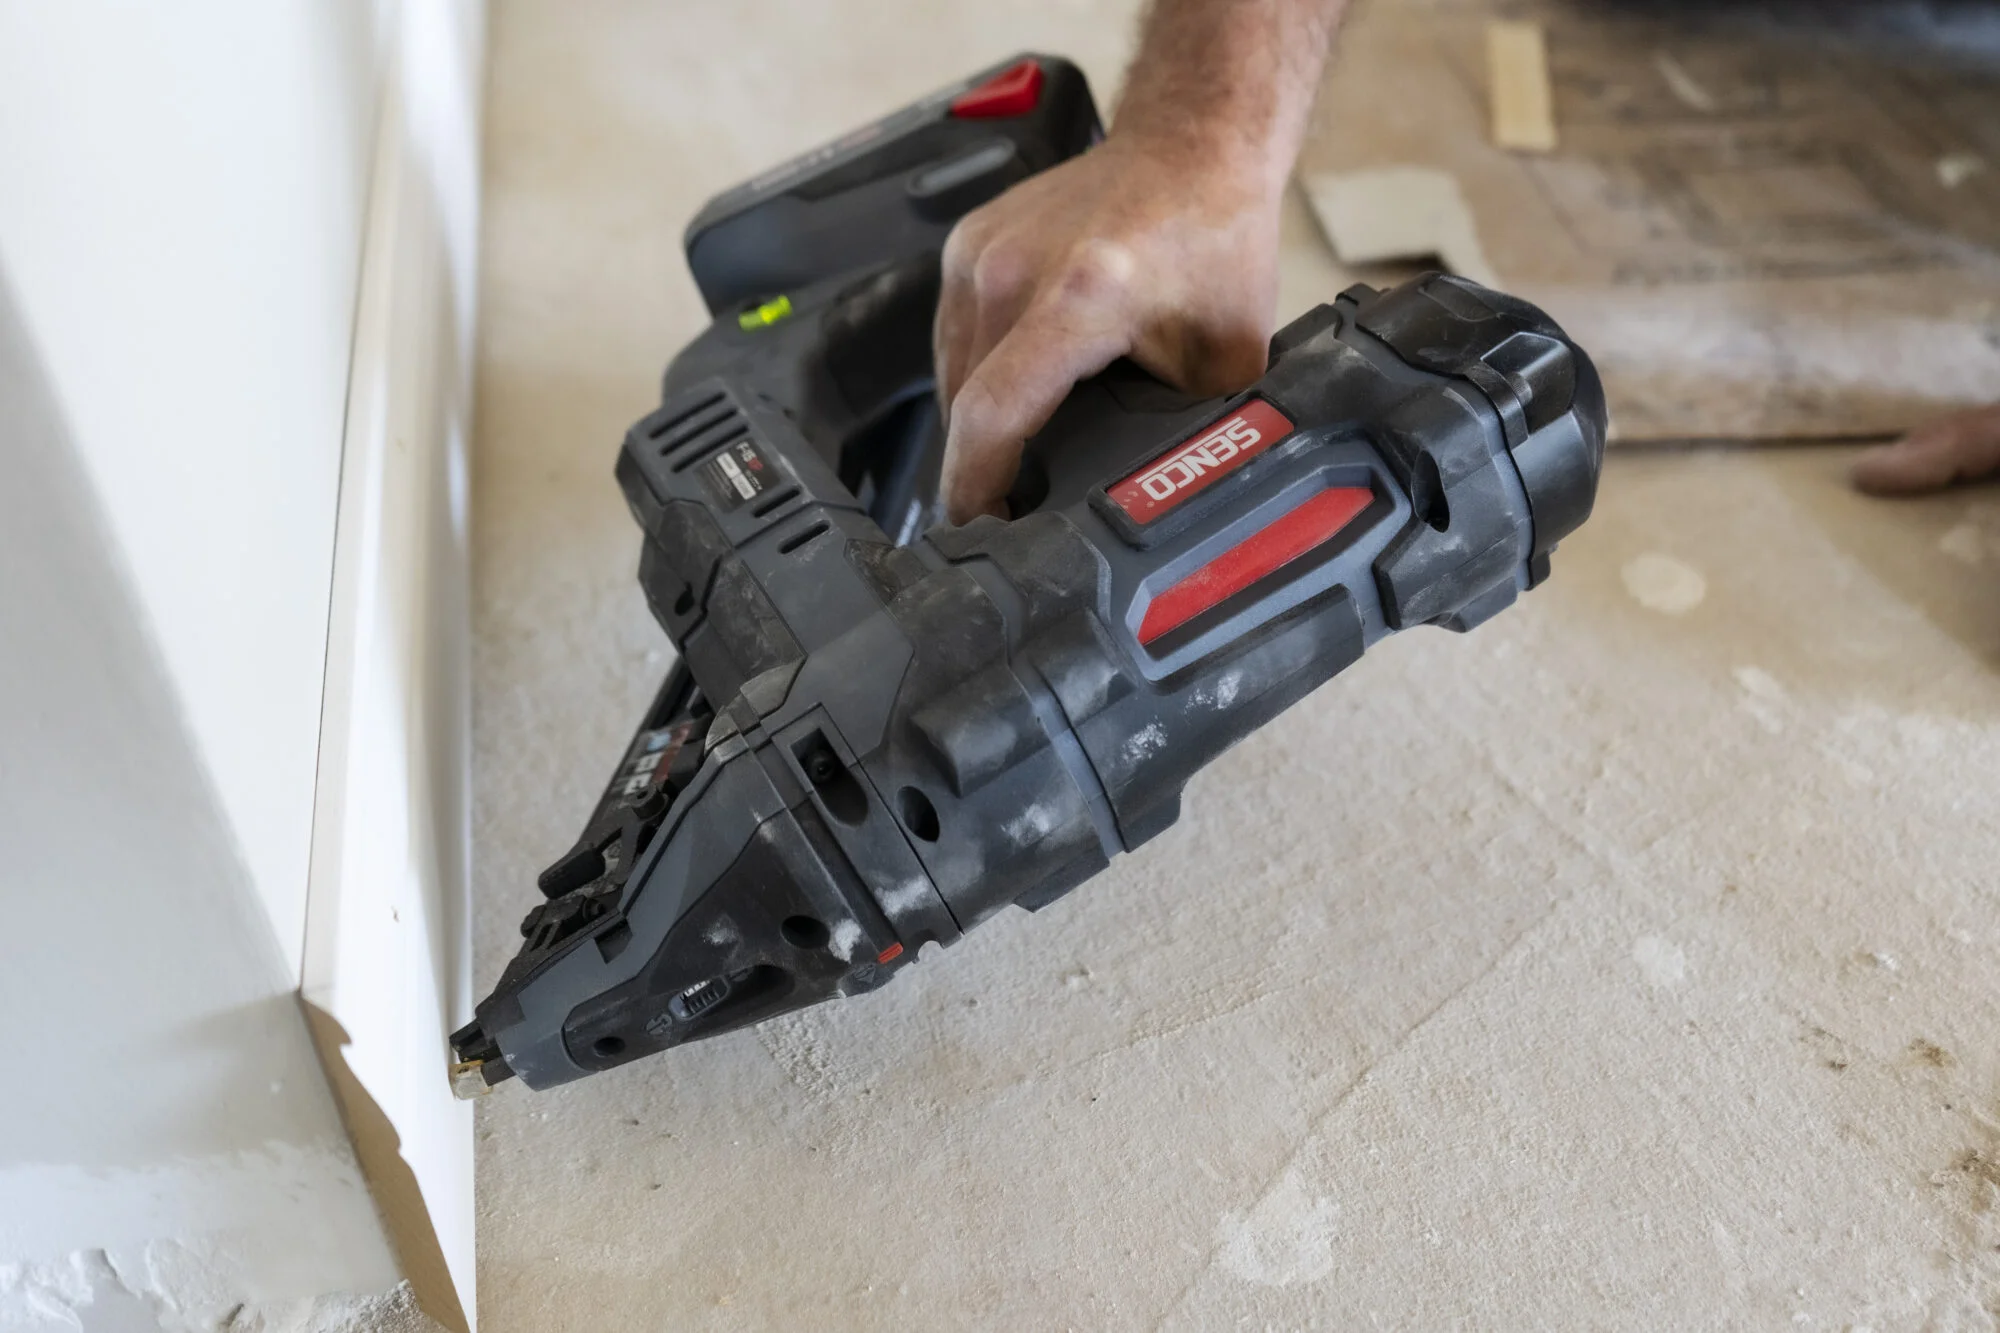
You should only use manufacturer-recommended parts in order to prevent damage to the nailer or possible injury. You can typically order a full set of O-rings – or a repair kit that includes O-rings, seals, and additional components – for your specific make and model of nailer online or from an authorized dealer. Additionally, the specific steps for replacing seals and O-rings may vary depending on the type of nailer. These steps are not applicable to cordless nailers.
Disassembling Your Nailer
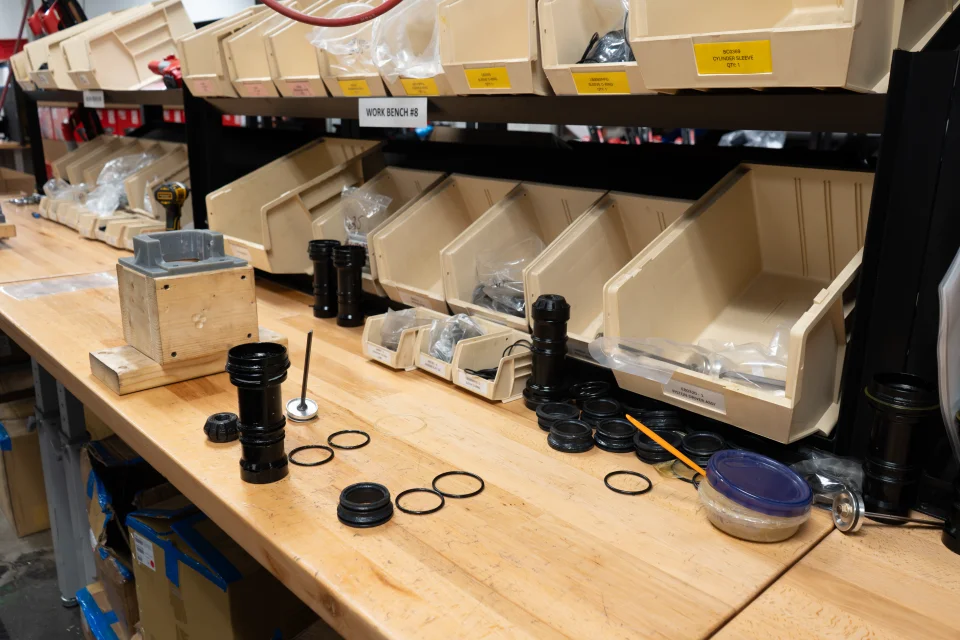
Make sure your nailer is disconnected from the air supply and that all nails are removed from the magazine. Then, remove the head cap. This cap, at the exhaust end of the tool, is typically held on by four hex bolts. Using a hex key or an Allen wrench, remove the bolts. You may have to lightly tap the cap with a rubber mallet to get it loose. Slide out the piston and driver assembly and remove the firing piston, making sure to keep every part in order.
Inspecting Your Nailer
There are several rubber and plastic seals of various sizes on multiple components in the nailer. Check each seal to determine which one needs to be replaced. Visually inspect each seal and O-ring for damage, such as warping, tears, or cracks. Make sure each rubber O-ring is still lubricated and flexible. Once you find the damaged seal, move onto the next step.
Note that many users replace all the seals at once, even if they don’t all appear damaged. Treating this task as routine maintenance rather than a repair may prevent you from having to disassemble your nailer again soon.
Find Your Part Number
Look on the manufacturer’s website for the manual or a parts chart for your specific tool. A parts chart will help you identify the item numbers of any specific seal or O-ring you need to replace. You can search online to find the correct part, or ask your dealer or service center for help.
Replace the Damaged Seal
O-rings can easily be removed with a hook, a small screwdriver, or even a toothpick. Simply place the tip of the screw driver under the ring and lift. Plastic seals are typically capped onto components like the the piston assembly. They can be removed simply by pulling, but you may need to gently pry the edges with a flathead screwdriver.
Before replacing the seal or O-ring, clean the tool with a cloth, a soft-bristled brush, or compressed air to remove any dirt or debris. Lightly coat the seal or O-ring in pneumatic tool oil before replacing it.
Reassembly and Testing
Reassemble your tool in reverse order of how you took it apart, being careful to make sure all components are replaced and situated properly. Reassemble the head cap and tighten the four bolts in a criss-cross pattern. Once the nail gun is reassembled, reconnect it to your air compressor. If you don’t hear any hissing, insert a rack of nails and test fire the tool in some scrap wood.
Ask For Help
If your nailer still won’t fire, or if you’re uncomfortable opening the tool and working on it yourself, talk to a professional. SENCO customer service representatives can help diagnose any issues and offer solutions. Alternatively, you can take any SENCO nailer to an authorized service center for quick repairs without having to box it up and send it back to the manufacturer.
Related Posts