How to Build a Fence That Lasts

A wood fence can give your home more curb appeal and add security and privacy to your property. In this blog post, we will give an overview of how to build a fence like a pro with tips on how to extend the life of your fence.
- Determine the Fence Layout and Mark the Property:
- Decide on the layout of your fence. Consider your needs for privacy, security, and property boundaries.
- Use strings and stakes to mark the fence’s perimeter. Start parallel to the house and then mark the perpendicular lines.
- To get perfect 90° corners, use the 3-4-5 method: you want a three-foot length on your straight line, a four-foot length on your perpendicular line, and a five-foot length across.
- Prepare the Tools and Materials:
- Gather the necessary tools, including a post hole digger, shovel, level, tape measure, circular saw, drill, and other common hand tools.
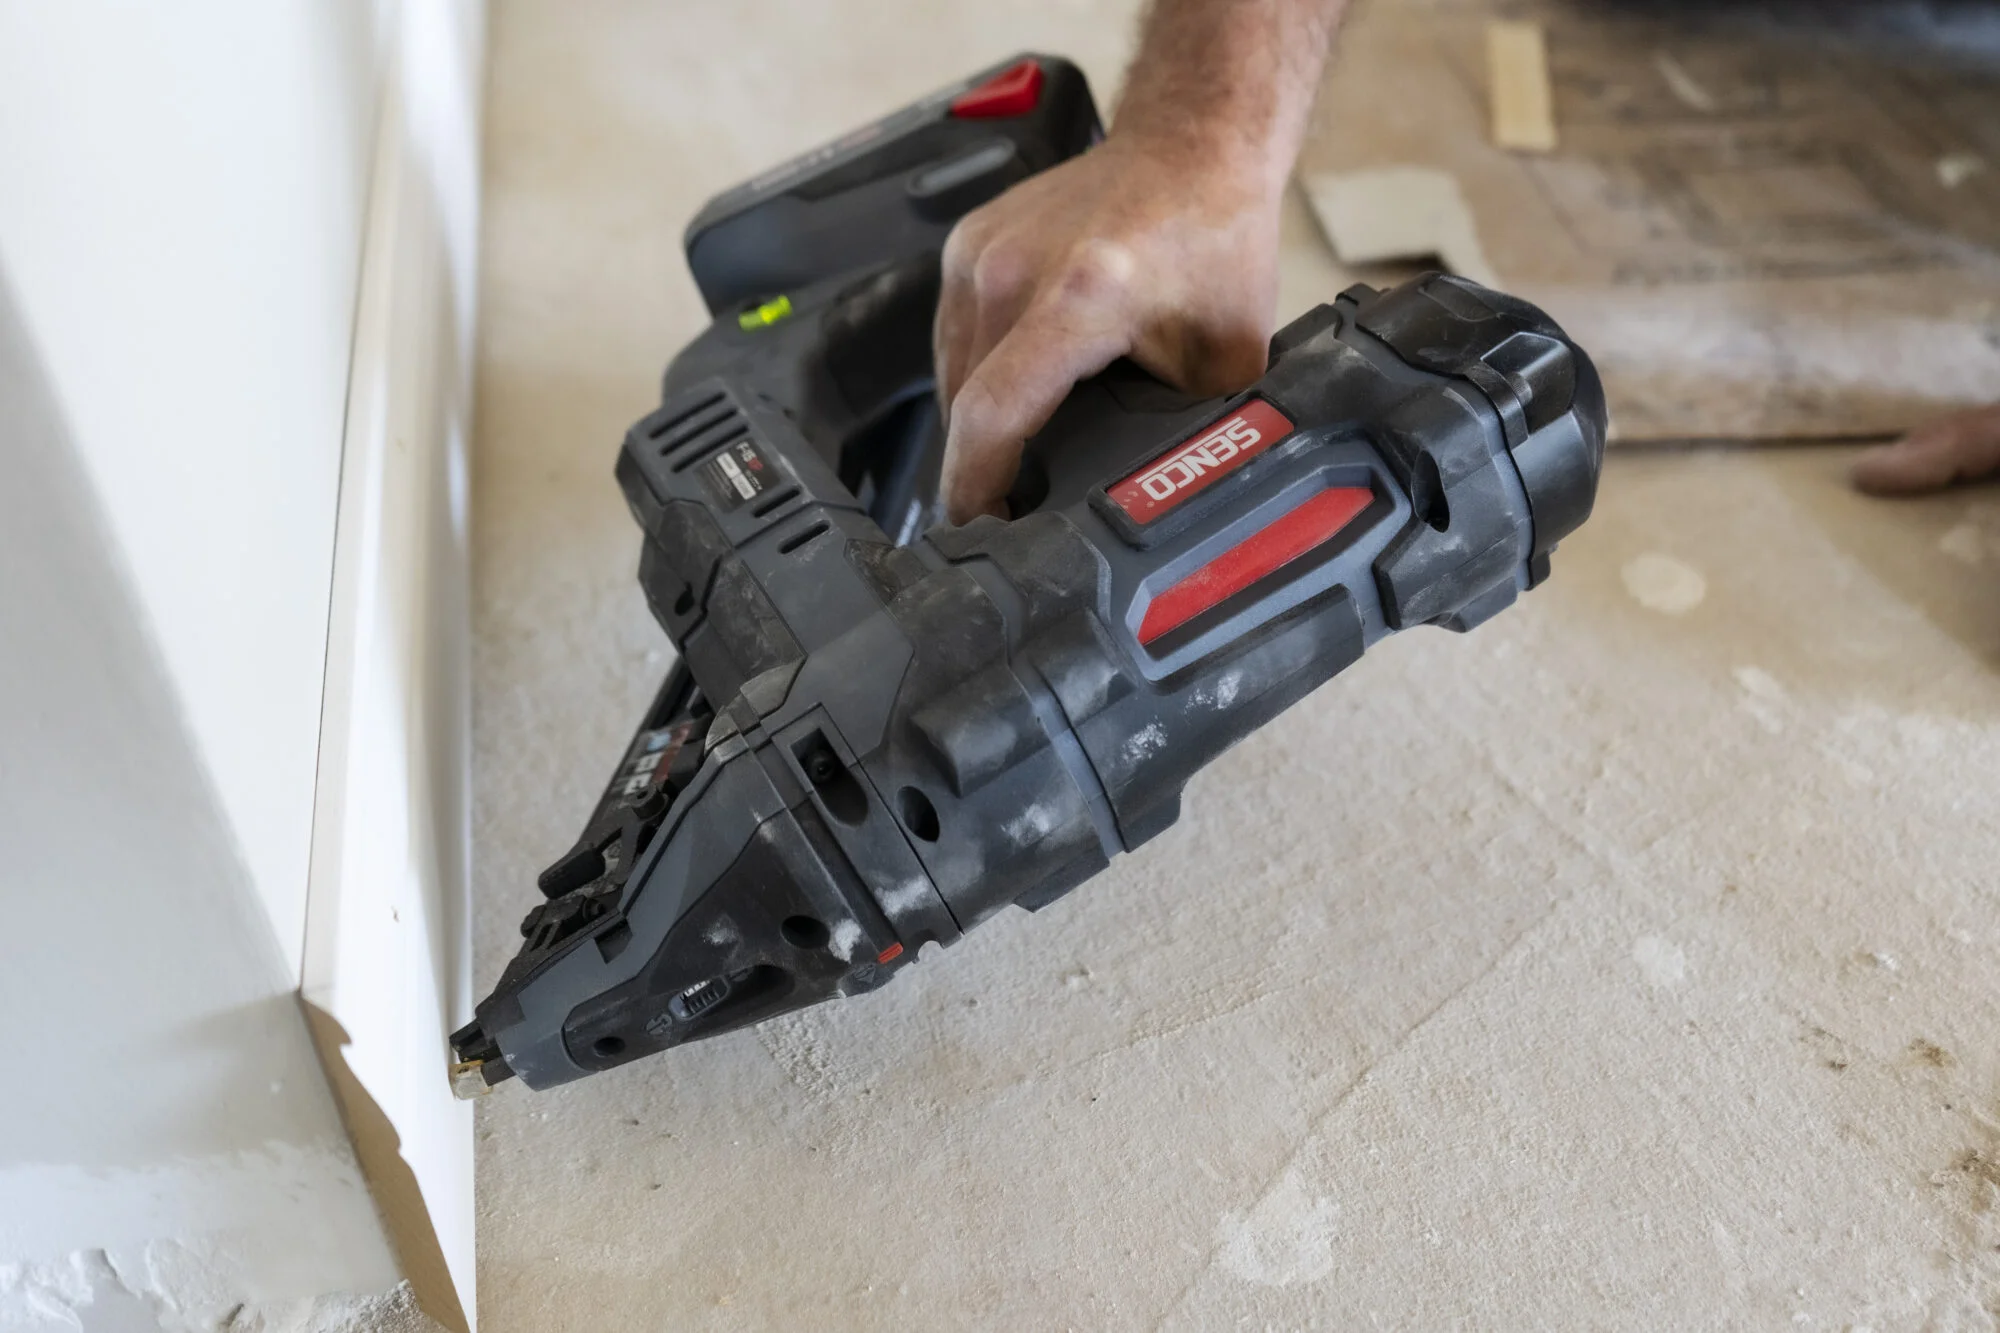
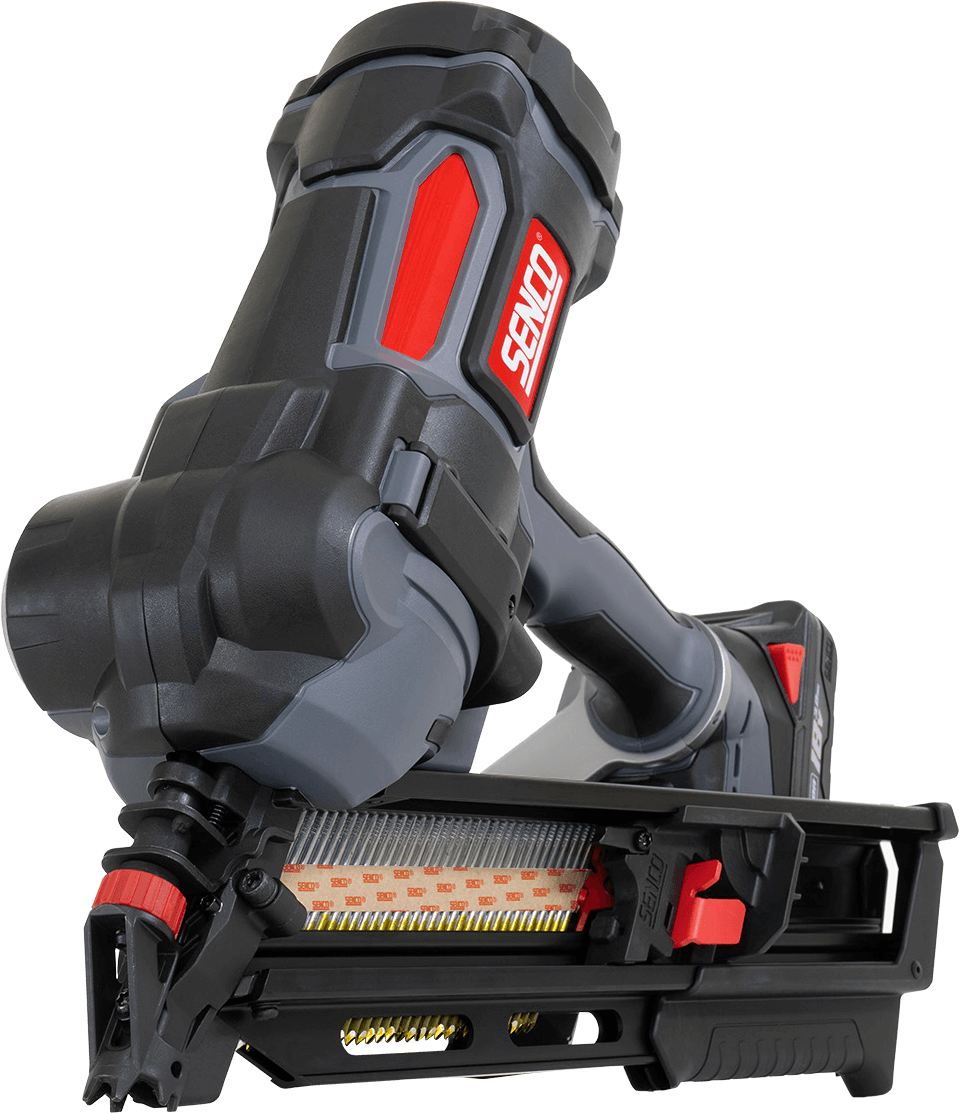
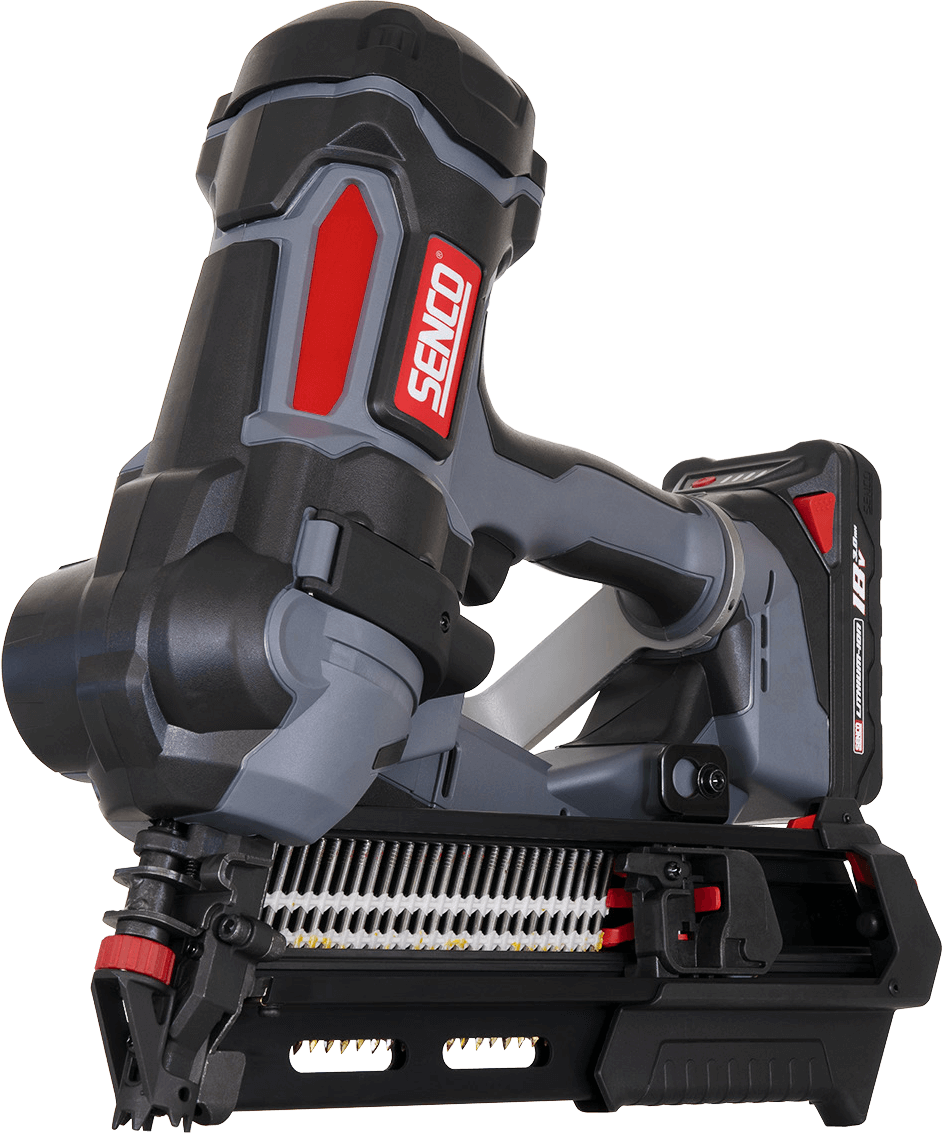
- For faster installation, use a collated fastening tool such as an auto-feed screwdriver or a pneumatic or cordless nailer. Using collated fastening tools saves time and prevents fatigue.
- For wooden fences, opt for pressure-treated or naturally rot-resistant lumber to prevent decay.
- Depending on your fence and plan, you may also need concrete mix, gravel, nails or screws, and other necessary hardware.
- Dig the Post Holes:
SAFETY FIRST: Your local utility company will come and mark water, gas, and power lines in your yard. Simply call 811 before digging. Be sure to hand dig any holes that are within 18-inches to 24-inches of a marked utility.
- Use a post hole digger or shovel to dig holes for the fence posts along the marked fence line. The post hole should be 3x wider than the post itself. For example, a 4” wood post would require a hole approximately 12” wide. Additionally, the depth of the hole should be 1/3 to 1/2 of the post’s height above the ground, meaning a 6-foot-tall fence would require a hole depth of at least 2 feet.
- Ensure that the post holes are evenly spaced, typically 6 to 8 feet apart, depending on your fence design and local building codes.
- For colder climates, make sure your posts extend below the frost line.
- Set the Fence Posts:
- Place a post in each hole and use a level to ensure they are plumb (vertical) and aligned with the string lines.
- In areas prone to severe weather, consider using concrete to secure the posts. Pour concrete mix into each hole around the posts and add water according to the manufacturer’s instructions. Check the post’s alignment once again before the concrete sets.
- Install Fence Panels or Pickets:
- Once the concrete has cured, attach fence panels or individual pickets to the posts using appropriate nails or screws.
- Use high-quality fasteners that are designed to resist corrosion and maintain their strength over time and are suitable for use with pressure-treated wood.
- If using screws, be sure not to overdrive screws, as this can weaken the hold and split the wood.
- Make sure the panels or pickets are level and aligned with the adjacent panels or pickets. Use a level and measuring tape to ensure accuracy.
- Secure Gates and Make Final Adjustments:
- Install gates according to your chosen location, ensuring they are level and properly aligned with the rest of the fence.
- Make any necessary adjustments to the fence panels, pickets, or gates to ensure they are all level, straight, and properly secured.
- Finish and Maintain the Fence:
- Apply a protective finish, such as stain or paint, to the wood surface of the fence to enhance its durability and appearance.
- Regularly inspect the fence for any signs of damage, loose boards, or rot. Make repairs promptly to maintain the fence’s integrity.
A couple more tips:
Pay Attention to Fasteners. Fasteners play a critical role in providing structural support and keeping fence components secure, even in the face of daily wear and tear or harsh weather conditions. Since fence fasteners are exposed to the elements more than those used in typical home construction, it is crucial to use high-quality, specially coated fasteners that resist rust and corrosion.
Screw Fasteners vs. Nails: When it comes to fastening your fence, screws offer several advantages over nails. While nails may seem like a quicker option, screws provide superior holding power and are less likely to become loose or pull out over time. By creating a stronger bond between fence components, screws help maintain the fence’s structural integrity. Moreover, screws are easier to remove during repairs compared to nails.
Please keep in mind that these instructions are designed to provide a general overview of the process. It’s essential to consult local regulations, acquire any necessary permits, and consider specific site conditions and requirements before beginning your project.
Related Posts