Silence is Golden: A Guide on How to Install a Squeak-Free Subfloor

A squeaky subfloor can be an annoying and persistent issue, disrupting the peace and quiet of any home or workspace. Whether you’re preparing for a new flooring installation or addressing an existing problem, installing a squeak-free subfloor is crucial. Paying careful attention to the framing will help provide a solid and silent floor, plus reduce the risk of cracks in tiles, or gaps and bulges that show through carpet, linoleum, or other floor coverings. In this guide, we’ll walk you through on overview of the step-by-step process to ensure a flawless subfloor installation.
Choose the Right Materials
Selecting the appropriate materials is fundamental to achieving a squeak-free subfloor. Oriented Strand Board (OSB) and plywood is a common choice for subflooring, providing strength and stability. Ensure that the chosen material meets industry standards and local building codes.
Acclimate the Materials
Allow the subflooring materials to acclimate to the environment for at least 72 hours before installation. This helps prevent any warping or buckling that may occur due to changes in temperature and humidity.
Securing the Subfloor
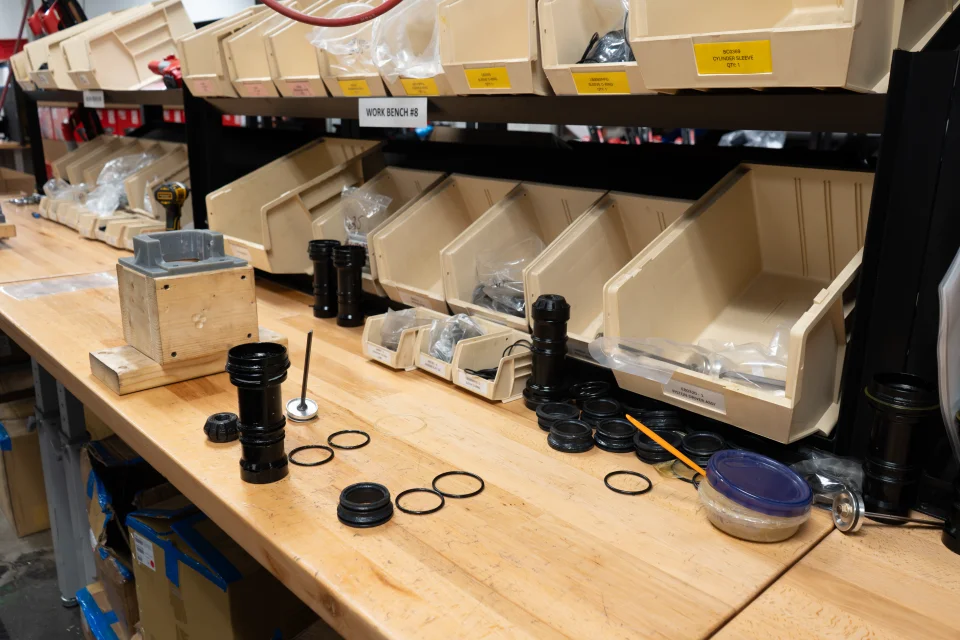
SENCO designed nails specifically for securing subfloors. Whisper Grip Subfloor Nails were originally invented for the mobile home industry to help prevent a home’s floors from becoming warped when being moved. This unique nail features a ring shank design that covers the entire shank of the nail and aggressively grips subfloor or sheathing material. Even if joists or stud is missed, nail remains countersunk, and the sencote lubricant acts as an adhesive when heated during the drive.
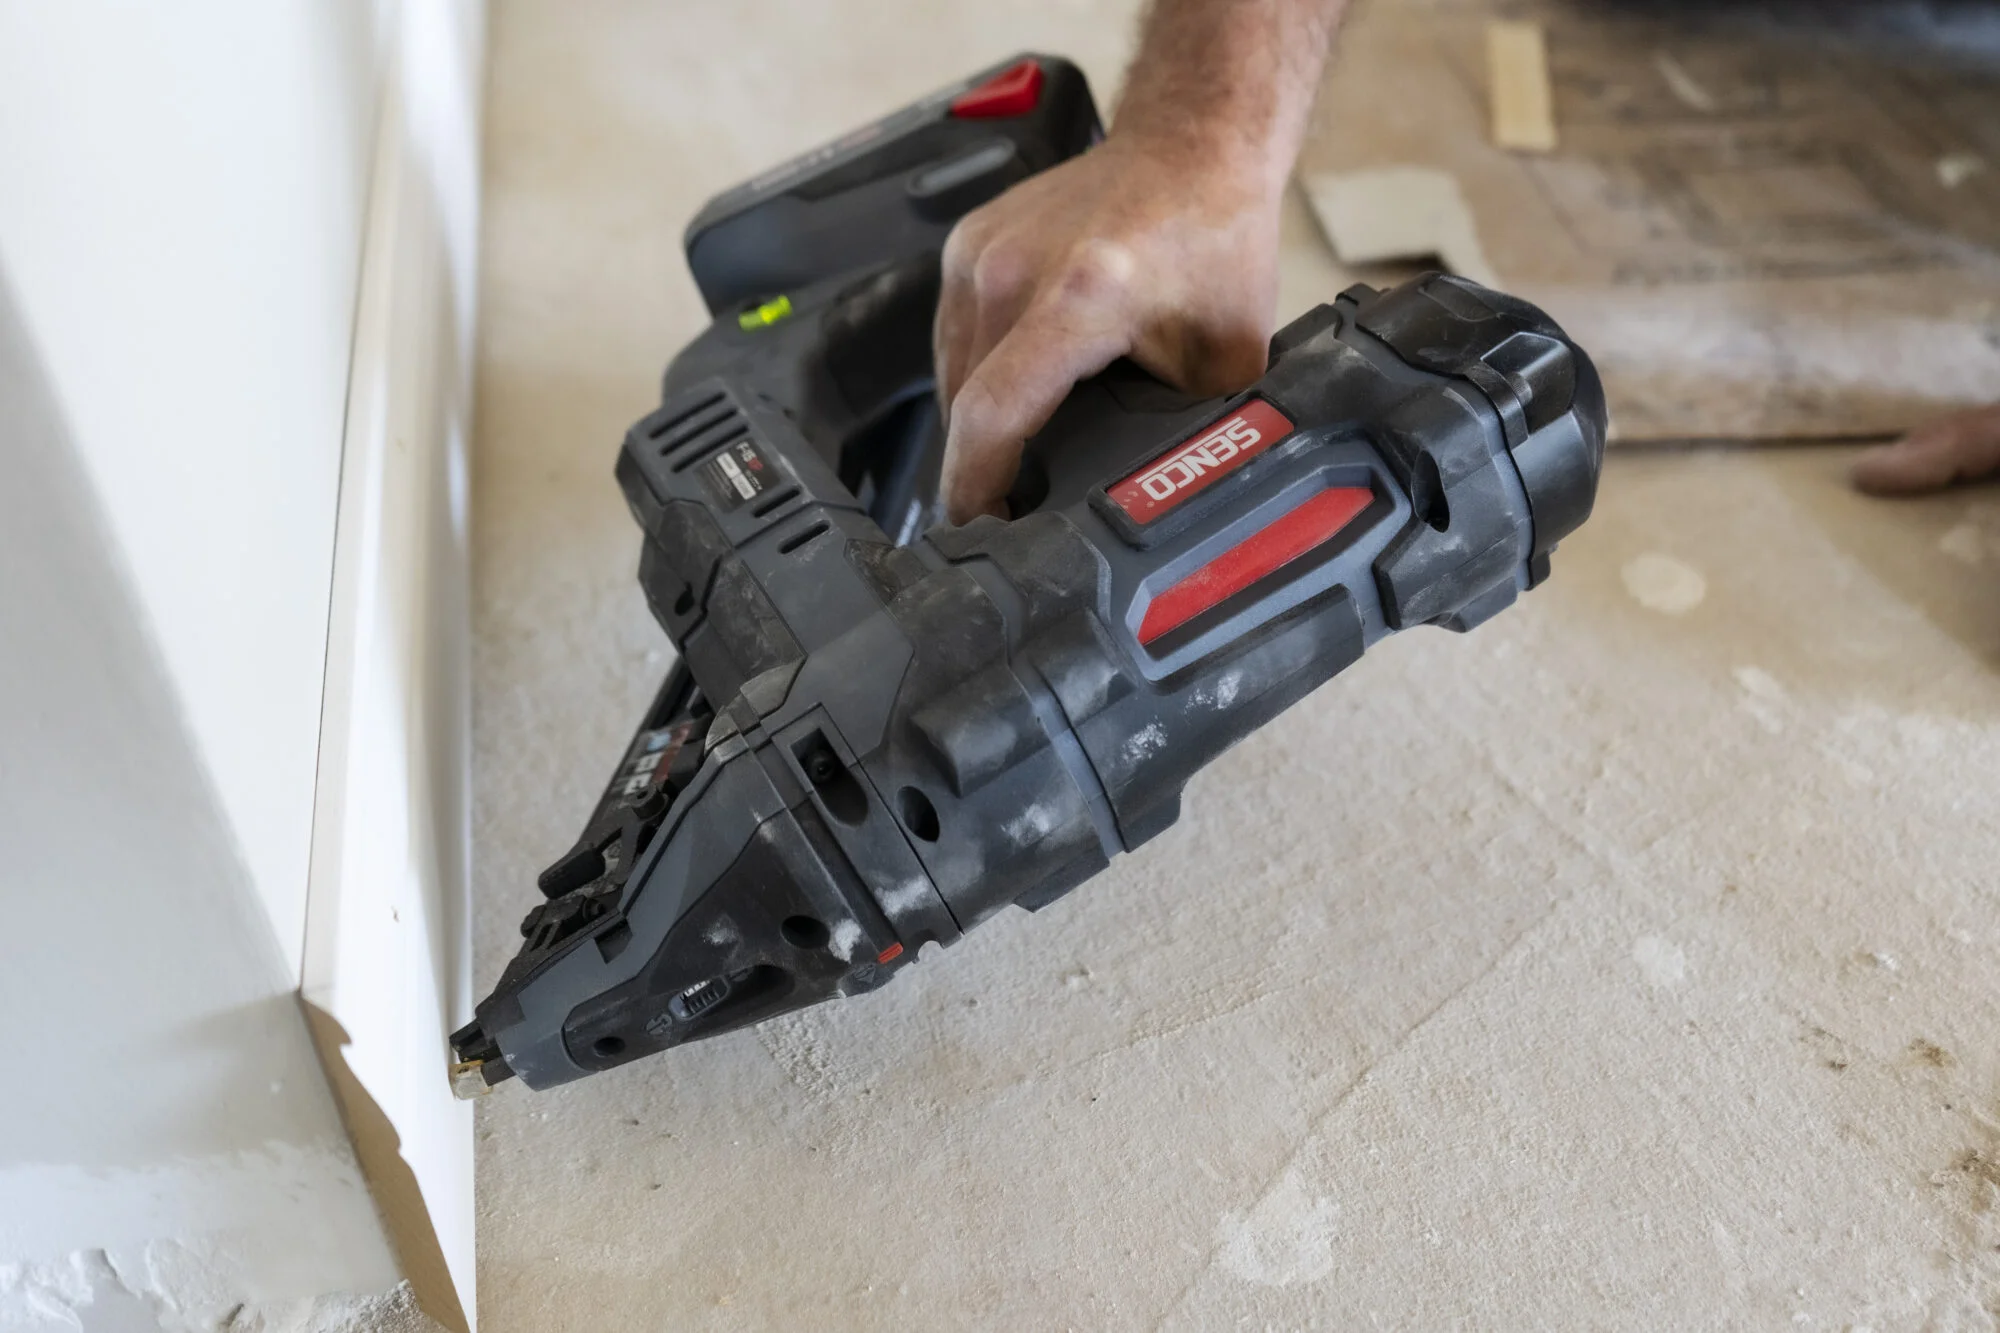
When fixing floorboards on a ground-level floor, you would most likely need to direct fasteners from above. Fastening subfloors from above calls for countersinking screws. We recommend using the SENCO’s YTK series of screws: 08F150YTK, 08F175YTK, or 08F200YTK depending on your project’s needs.
When fastening, ensure that the screws penetrate joists by at least 1inch and drive them just below the surface. Over-driving screws will compromise fastening strength, but under-driving screws will interfere with the flooring above. Fasten a maximum of 6 inches on center along panel ends and a maximum of 12 inches on center in the field, with all fasteners kept 3/8 inches from panel edges.
Establish a Solid Foundation
Begin by securing the first panel in the corner of the room, ensuring it aligns with the layout of the space. Fasten the panel to the floor joists using screws or nails, adhering to the manufacturer’s guidelines for spacing. Continue installing panels, staggering the seams to enhance strength and stability.
Adhesive Application
To further eliminate squeaks, apply construction adhesive to the top of the joists before laying each subfloor panel. This helps create a strong bond between the subfloor and the joists, reducing the likelihood of movement and noise.
Mind the Gaps
Maintain a 1/8-inch gap between panels to allow for natural expansion and contraction. This precautionary measure prevents buckling and ensures a tight fit over time. Be diligent in checking and adjusting panel placement to maintain consistency throughout the installation.
Addressing Squeaks
If you encounter squeaks during installation or after completing the subfloor, take immediate action. Identify the source of the noise by walking across the floor and listening for creaks. Once located, secure the subfloor to the joists at the squeaky points using additional screws.
Quality Checks
After completing the installation, conduct a thorough quality check. Walk across the subfloor to check again for squeaks or soft spots. Rectify any issues promptly to guarantee a stable and reliable foundation for your flooring.
A squeak-free subfloor is a testament to a well-executed installation process. By investing time in proper preparation, material selection, and meticulous installation techniques, you can create a solid foundation that enhances the longevity and comfort of your space. Follow these steps diligently, and you’ll enjoy a silent and stable subfloor for years to come.
Related Posts